Disclosure: This post may contain affiliate links. If you click on a link I may make a small commission at no extra cost to you. You can read the full disclosure here.
Last Updated on October 23, 2022 by Chris Panteli
How to Grow Microgreens
Do you want to start growing microgreens, but don’t know where to start?
Maybe you don’t have a green thumb. Sowing seeds, growing plants, and harvesting might all be terms you are unfamiliar with.
Don’t worry. Growing microgreens is effortless, affordable, and healthy. I’ve put together this comprehensive guide to teach you how to do it.
No matter your budget, how much space you have, or your skill level, everyone reading this can start growing mouth-watering microgreens straight away!
- How to Grow Microgreens
- Why You Should Grow Microgreens
- Can Microgreens Be Grown From Regular Seeds?
- Are Microgreens Just Baby Plants?
- What You Need To Grow Microgreens
- What Can You Grow as a Microgreen?
- Are Microgreens Better Than Vegetables?
- What Is the Difference Between Microgreens and Sprouts?
- Can Microgreens Be Grown in Soil?
- What Is the Best Soil To Grow Microgreens?
- Is It Better To Grow Microgreens in Soil or Water?
- Can You Reuse Soil for Microgreens?
- Growing Microgreens in Coconut Coir
- Growing Microgreens Without Soil
- How To Grow Microgreens in a Jar
- Growing Microgreens in a Greenhouse
- Taking Care of Your Microgreens
- Is Peat Moss Good for Microgreens?
- How Big Do Microgreens Get?
- Harvesting Microgreens
- How Long Will Fresh Microgreens Last After Harvest?
- Will Microgreens Regrow After Cutting?
- How to Grow Microgreens
Why You Should Grow Microgreens
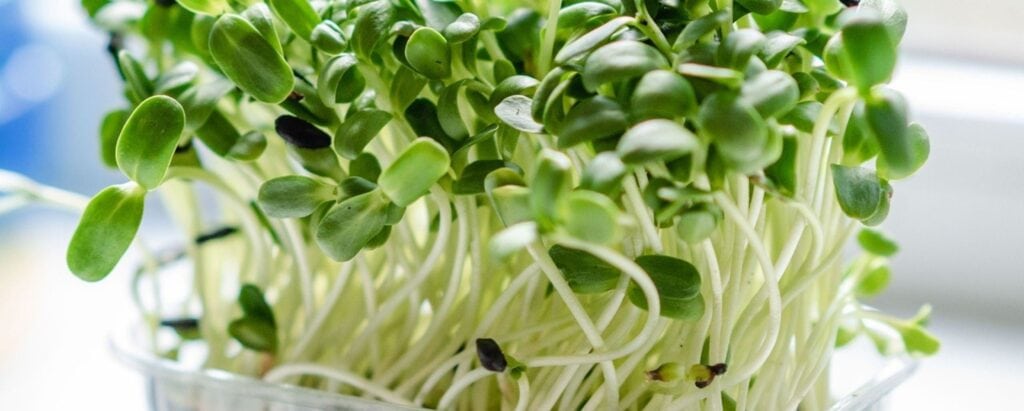
Microgreens are packed with things that are beneficial for human consumption including minerals, vitamins, and antioxidants. This means microgreens are often referred to as a superfood.
Modern life is busy which makes microgreens an ideal choice for urban farming thanks to how fast they grow. Some are ready for harvest a mere 8 days after seed sowing!
Finding space to grow anything can be tricky. A great reason to grow microgreens is that it doesn’t take up much room! You could easily fill every windowsill and that would give you more than enough microgreens for your needs.
Most plants need sunlight and soil to grow. However, it’s possible to grow microgreens with minimal direct sunlight or even none at all. Soil for microgreens is not needed either if you want to use other options. Thanks to this flexibility it means anyone can start growing microgreens. There are no barriers!
Microgreen seeds vs Regular seeds
Microgreen seeds and regular seeds are the same types of seeds. Buying microgreens seeds guarantees that you are getting seeds designed and tested specifically for growing quality microgreens.
How long does it take to grow microgreens from seed?
A popular reason for growing microgreens is how fast they grow! The germination phase can take an average of 3 days.
Your microgreen crop could be ready to harvest in approx 8-21 days.
It’s perfectly possible to grow microgreens from seed in as little as 8 days! These timescales do vary depending on the microgreen varieties you are growing and environmental factors.
Can Microgreens Be Grown From Regular Seeds?
Yes! Regular seeds can be used to grow varieties of microgreens. However, as regular seeds are for outside use, they may have added chemicals that could be harmful. Check the packet carefully to see if chemicals have been added.
The germination process for microgreens is fast. Some types of microgreens are ready for harvest in approx. 8 days! When buying any type of seeds check the speed of germination.
Should you soak microgreen seeds before planting?
Soaking microgreen seeds before planting is not necessary. However, there are some benefits of soaking in water before planting.
If you soak the seeds in water before planting the germination phase is faster. Leaves and stems do enjoy greater growth too.
Are Microgreens Just Baby Plants?
Microgreens are essentially baby plants. The key difference is their age as microgreens are harvested at a younger age than baby plants.
What You Need To Grow Microgreens
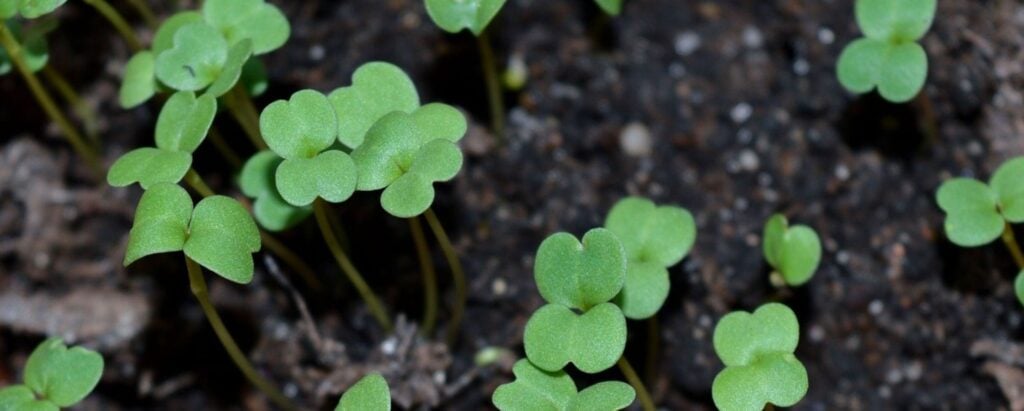
Growing microgreens is relatively easy to start. Provided you’ve got space to put out some microgreen trays with access to either natural sunlight or a grow light, then you can get started!
Growing trays
Growing trays for microgreens don’t have to be anything fancy or expensive. Starting out you could use any plastic tray including ones you might use when getting a takeout!
You can buy microgreen trays that come with clear lids. These are designed to help with moisture levels. For best results use trays with drainage holes. Shallow trays are fine as microgreens will happily grow in a 1-inch-deep tray.
Growing medium
Choosing which growing medium to use is an important choice for several reasons. It stores all the nutrients and moisture that the roots need to thrive.
The right growing medium ensures the roots have space to breathe and gives the roots the support they need to grow properly.
You can choose from potting soil, coconut coir, or make your own mix!
What growing medium is best for microgreens?
Potting soil is the most used, but others can work just as well. Keep in mind you want to use something that will retain moisture and nutrients as this helps the roots grow. It should also drain freely so the roots don’t rot, be lightweight, and will leave room for oxygen and water. Any growing medium that meets these requirements will be awesome for growing microgreens!
Certified organic seeds
Using certified organic seeds yields the best growing results. Buying in bulk can help keep costs down once you’ve tried a few varieties and know what works for you.
Where to buy microgreen seeds?
You can buy seeds from many places. Larger seed suppliers, such as True Leaf Market, will have online stores that you can use to get them delivered to your door. Local garden centers, online retailers, or independent seed retailers can all be used to buy microgreen seeds.
Grow light
If natural light isn’t a growing option for you, then artificial light is perfectly fine to use. There are plenty of affordable lights to choose from.
Studies have shown that microgreens will grow well even with minimal supplemental light.
The best lights for growing microgreens are fluorescent or LED lights. These lighting options both provide thousands of hours of light. Your plants will get the type of light they need to grow and they are affordable options.
What Can You Grow as a Microgreen?

Although some types of microgreens grow better than others, virtually all vegetable or herb seeds can be grown as microgreens. Also, the taste may vary from the full-size plant version.
Here is a selection of microgreens that you can consider growing at first.
How to grow sunflower microgreens
Sunflowers contain lots of compounds that are beneficial to humans. This includes zinc, folate, and vitamin E.
Soaking in water before planting will yield better results. Place the seeds in water for up to 24 hours. The seeds will absorb the water so add more as required.
Leave the seeds in a bowl for a few days and regularly spray them. When you see the seeds start to sprout, they’re ready for planting.
Evenly spread the sprouting seeds around the entire tray. They must be kept in a dark environment for up to 5 days. Mist the seedlings twice a day to keep the soil moist. Do not overspray as too much water will cause rot.
Your sunflower microgreens will be ready in 8 to 12 days!
How to grow broccoli microgreens
Broccoli is regarded as a superfood. It’s packed with nutrients that are good for us including vitamin A and C. Microgreen broccoli includes all the same nutrients that full-size broccoli includes. It also contains sulforaphane which can help against cancer, heart disease, aging, and more.
Follow these simple steps to start growing your own broccoli microgreens.
Start by choosing which seeds you want to use. Organic seeds are best, but regular seeds will grow just as well. Microgreens seeds are a good choice as they should germinate faster than regular seeds.
Shallow trays are ideal for growing microgreens. Either buy seed trays with drainage holes or use any plastic container such as a take-out tray. Just make sure there are drainage holes in the bottom.
Once germinated the microgreens need to be watered from the bottom. Make sure a slightly larger tray is underneath the entire tray containing the microgreens.
Organic potting soil is the best growing medium to use for broccoli microgreens. You will also need a spray bottle to water them when first planted.
If growing indoors make sure there is a suitable grow light in view of the plants. Ideally, have space on a windowsill so they can get lots of natural light.
Now you’ve got everything ready it’s time to sow your microgreens seeds! Fill the trays with soil and gently pat them down so that the soil level is even. Spray the surface with water a couple of times and then scatter the seeds across the soil.
Make the seeds moist by carefully spraying them with water. Don’t let the seeds get scattered! Now it’s time for germination.
Cover the seedling germination trays completely. You can do this by putting the second tray over the first tray. The goal is to make sure no light or humidity can get in. Seeds need up to four days of total darkness to complete the germination process.
Once baby leaves start to show, then you can remove the cover and provide light to your microgreens. Don’t panic if you notice a white growth – it’s not molding! The white growth you may see are the root hairs of the plant.
Now your broccoli microgreens are growing, put them in a tray of water and water from the bottom for the entire time they are growing.
After a few days, your broccoli will start turning green and it will soon be harvest time! Once you can see they are a rich green color, about 7cm tall, and have good-sized leaves, they are ready for harvesting.
Once harvested, store in an air-tight container, and they will be good to eat for approximately 10 days.
How to grow gourmet mushrooms
Mushrooms not only taste great but they are packed with health benefits. Essential vitamins, antioxidants, and minerals are all found in mushrooms.
You can start growing your own gourmet mushrooms in a few easy steps. Start by choosing a suitable tray to grow them in. Either buy one or use something from your own home. Make sure you thoroughly sterilize the tray before use.
The next step is to buy some mushrooms from the grocery store. Take them home, cut off the stems, and place them on wax paper for 24 hours. Once 24 hours have passed the gills will have released the spores you need to grow your own.
Put the growing medium into your tray and add the mushroom spores. Use a clear cling wrap to cover the tray. This will allow air to flow.
All you need to do now is keep the soil moist and your mushrooms will be ready in approximately 10-15 days!
How to grow sugar cane
You can grow your own sugar cane and have homemade sugar all the time!
To grow your own sugar cane, you will need to use larger containers. Ideally, they should be about 12-14 inches deep.
You can buy sugar cane seeds from any online retailer or garden store. Sow the seeds in the container along with the soil and make sure to water regularly. Remember not to overwater!
Sugar cane seeds need about 2-3 weeks of germination time and then they will start to grow! Watch out for the leaves turning pale or yellow as this is the sign the sugar cane is ready to harvest.
Are Microgreens Better Than Vegetables?
Eating a variety of microgreens or vegetables is essential to stay healthy. Many microgreens contain more nutrients than their adult versions.
If you can grow enough microgreens to fulfill your dietary needs, then you will get more essential nutrients than eating vegetables.
The important thing is to eat a balanced diet. Don’t stop eating vegetables unless you can grow enough microgreens to replace them! Usually, eating a combination of foods is the best way.
What Is the Difference Between Microgreens and Sprouts?
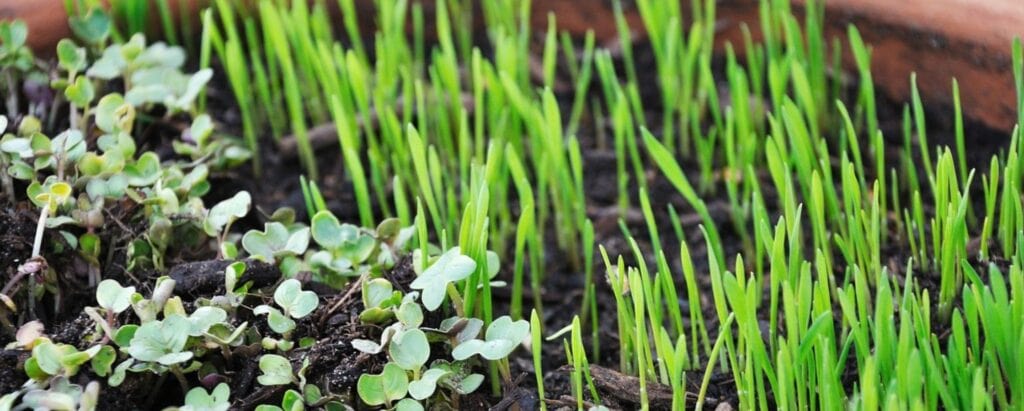
Microgreens and sprouts are not the same. First, microgreens need to be grown in soil, but sprouts germinate in water.
You can eat the leaves and stems of microgreens or the stem and seed of sprouts.
Growth in sprouts takes about a week. Microgreen varieties differ and some can take up to 3 weeks to grow.
Finally, sprouts are a fantastic addition to any meal as they add a bit of crunch. Microgreens tend to be used as garnishes but are packed with flavor!
Can Microgreens Be Grown in Soil?
Yes! Microgreens can be grown in soil. Using soil to grow microgreens often yields the best results, the soil is easier to work with, and soil normally contains all the nutrients plants need to grow. Simply add water and nature will do the rest!
What Is the Best Soil To Grow Microgreens?
Organic potting soil is the best to use for growing microgreens. The reason organic soil is recommended is that it’s rich in nutrients and minerals. This helps plants grow stronger, faster, and with less risk of disease.
Thanks to these benefits you won’t need to use chemicals or pesticides on your plants. This makes them healthier and tastier for you to eat!
Do you need special soil for microgreens?
Although organic potting soil is recommended. You can successfully grow microgreens using regular soil. Provided you water correctly and keep the plants in the right conditions they will grow.
How do you prepare soil for microgreens?
Start by adding a layer of soil that is suitable for the microgreens you want to grow. Many only need an inch of soil. Others may need more.
Check the soil moisture as microgreens grow better in moist soil. Add more water as needed but not too much!
Is It Better To Grow Microgreens in Soil or Water?
Microgreens need water to grow but can’t be grown in water! You will need to plant microgreens in soil or a soil substitute to get them to grow.
Can You Reuse Soil for Microgreens?
Soil can be reused for growing microgreens. Once you’ve harvested your microgreens, turn the soil, sow more seeds, and add another layer of soil. Roots from the previous crop will turn into compost which is great for the next microgreen crop!
Growing Microgreens in Coconut Coir

Coconut coir is made from coconut husks and can be used as a soilless growing medium. Microgreens can be planted solely in coconut coir, or they can be mixed with other growing mediums.
Using coconut coir has many excellent benefits. First, it’s 100% organic which makes it the best choice for staying environmentally friendly.
Plants need water to grow. Coconut coir not only retains more water but also drains extremely well. Roots have plenty of air and room so they will grow strong. There is no odor from coconut which is great for indoor growing!
Thanks to being bacteria-free, using coconut coir mean no mold growth to worry about or any other mold issues.
You can either get a coconut coir mat, brick, or mix it with soil. Mats are awesome as they just need to be cut to size for your tray and you can get started.
Coconut coir bricks need to be prepared before use. Soak the brick in water and once the water has been absorbed you can use your hands to gently separate the fibers. Spread the growing medium over the tray and any leftover coir can be stored for future use.
Adding coir to the soil will improve water retention. You can mix coir with any soil you want to use. If mixing use 1 part coir and 2 parts soil for best results.
Growing Microgreens Without Soil
It’s possible to grow microgreens without soil. You can use a soil substitute such as coconut coir, vermiculite, or clay pebbles.
The growing process is the same. Every plant needs water, light, and room to grow. Follow the steps correctly and you can enjoy an edible crop without using soil.
How To Grow Microgreens in a Jar

First, you will need a wide-mouth mason jar. Cut a piece of screen material that will not allow seeds to pass through it. Window screen material, cheesecloth, or mesh liner are all good choices. Cutting the material to the same size as the lid or a little bigger is best.
Pour a mixture of water and nutrients into the jar. Fit the screen material onto the ring for the jar, make sure the ring is tightly secured.
The seeds can now be spread on top of the screen material. Seed spacing is important here. Make sure the seeds are evenly spread and not on top of each other.
Spray the seeds with water and put the jar lid on. Keep the microgreens jar in a dark environment for about 5 days and spray the seeds with water once or twice a day.
After about 5 days the seeds should be sprouting and starting to push the jar lid up! You can now remove the lid and place the jar in direct sunlight. If natural sunlight isn’t an option, then artificial light will be fine.
As the roots grow, the water level will drop. Top up the water in the jar as required. Wait about 10 days and your microgreen crop will be ready for harvest!
Growing Microgreens in a Greenhouse
Microgreens can be grown in a greenhouse. The key thing to remember is that microgreens need light, water, and the right temperature to grow. Provided you have room for a greenhouse that can meet the ideal growing conditions, then this is a great choice.
If you are starting a microgreens business using a greenhouse means you can grow much more than just using a windowsill!
Taking Care of Your Microgreens
Microgreens grow fast and don’t require a lot of care until they are ready for harvest. This makes microgreens a good choice for anyone that doesn’t have much spare time.
There are a few simple things you can do to make sure you have a bumper microgreen crop.
During the germination phase, your microgreens are kept in the dark under a germination dome or other cover. All you need to do during this time is mist the plants once or twice a day.
Once the microgreens have started growing and are in the light you just need to check them daily for signs of mold issues or fungal disease. Mist them several times a day so they have enough water and that’s it!
Tap twice to load then open Video...
Watering microgreens
Like all plants, microgreens need water to thrive. Make sure you water them according to their needs. Some can be sprayed using a bottle several times a day. Others need to be watered from the bottom. To do this sit the microgreen trays into another tray. Put the water in the bottom tray and the roots will do the rest.
When and how much to water your microgreens
Water is essential for microgreen growth, but water too much and they will suffer!
How often you should water will depend on what you are growing and how. Generally, they need to be watered once a day or if they feel dry.
Is Peat Moss Good for Microgreens?
Peat moss is effective as it absorbs and retains water. You can also mix peat moss with other growing mediums to get better results.
How Big Do Microgreens Get?
Microgreens don’t get very big and on average are about 3-8cm tall (1-3 inches). This is one reason they are a popular choice for growing at home. Space isn’t an issue, even a windowsill can provide enough room for a great crop!
Harvesting Microgreens
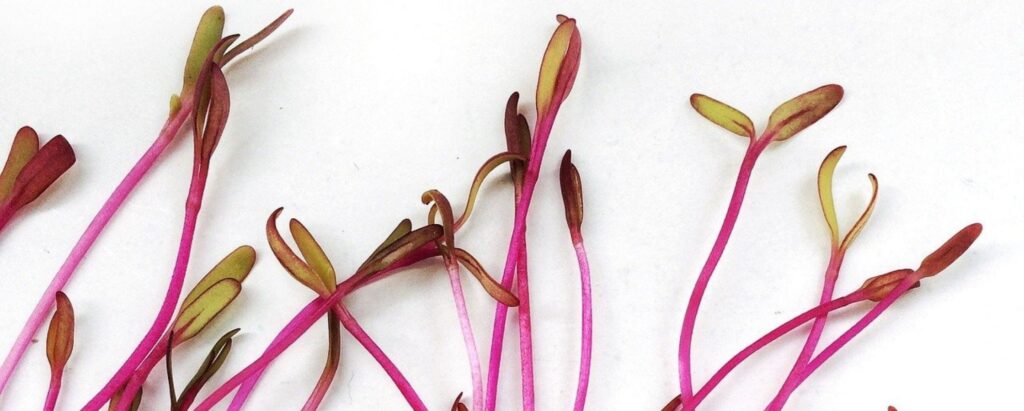
Harvest your microgreens once they are ready. To do this use scissors and snip them off near the bottom.
You can eat them immediately or store them in a fridge for a ready supply of delicious salad greens
What Happens if you Don’t Harvest Microgreens?
Microgreens that are not harvested will eventually die out. This is because they don’t have the room to continue growing into full-size plants.
Tips for harvesting microgreens
Your microgreen crop can be harvested by holding the container over a bowl and snipping the stems. Microgreens that have been watered from the bottom won’t need to be washed. If you do notice any soil, then rinse with water.
You don’t have to harvest all the microgreens in one go. Snip the crop in rows or patches as this leaves room for the remaining microgreens to keep growing.
Always use scissors to cut the stems. Never pull the microgreens out as this can disturb the soil and damage the roots.
How Long Will Fresh Microgreens Last After Harvest?
On average most microgreens will stay fresh for about two weeks after harvesting. Make sure to store them properly in a bag or air-tight container that is kept in the fridge. Store them immediately after harvesting to keep them fresh for the longest time possible.
Will Microgreens Regrow After Cutting?
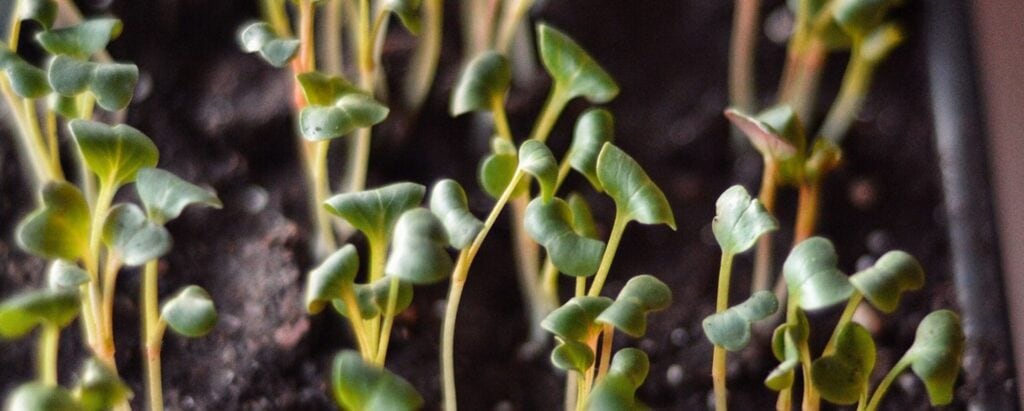
Microgreens don’t regrow after cutting. The good news is that microgreens grow quickly and last 10-14 days in the fridge. This means after harvesting, you can start growing another batch before the first one is inedible!
Growing microgreens is straightforward and can be started cheaply. Provided you can give your plants access to light, water, and space to grow you can get started!
The good news is that they don’t need a lot of space. A windowsill gives enough room for a fantastic crop!
To get started all you need is some seeds, a growing medium such as soil, and a tray with drainage holes. That’s it and in a couple of weeks, you can be eating freshly harvested, delicious salad greens!


